Last modified: Jul. 11, 2008
Contents
1 - Summary
2 - Prerequisites
3 - Copy Windows XP CD
4 - Extract Service Pack 3
5 - Integrate Service Pack 3
6 - Extract boot image
7 - Create bootable CD
1 - Summary
This guide explains how to slipstream Windows XP Service Pack 3. It explains
how to create a bootable Windows XP setup CD which includes Service Pack 3.
2 - Prerequisites
You will need the following.
- Windows XP Professional Retail CD
- Windows XP Service Pack 3 Network Installation file
WindowsXP-KB936929-SP3-x86-ENU.exe
- IsoBuster, http://www.isobuster.com/
- Nero, http://www.nero.com/
3 - Copy Windows XP CD
Open My Computer and make sure that hidden files and folders are set to be
viewed. Create a new directory to store the contents of the Windows XP CD. For
this example we will create D:\XP. Copy all of the directories and files from
the CD into D:\XP.
4 - Extract Service Pack 3
The Service Pack 3 files will need to be extracted. Create a new directory to
store these extracted files. For this example we will create D:\SP3. Copy
WindowsXP-KB936929-SP3-x86-ENU.exe into D:\SP3. Open a command prompt and type
the following commands.
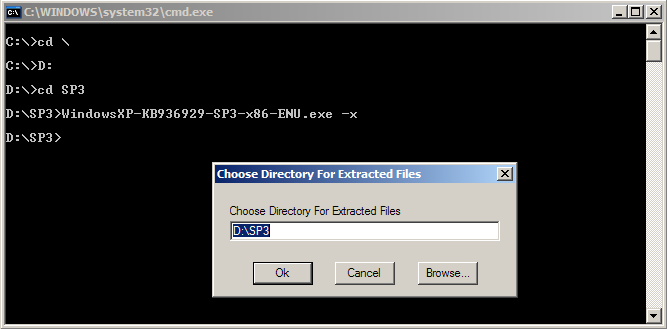 Now, it will ask you where you want to extract the files to. Type in D:\SP3.
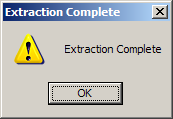 When the extracting is complete, you will get a window that says "Extraction
Complete."
5 - Integrate Service Pack 3
Run the following commands at a command prompt to integrate Service Pack 3
into the Windows XP directory found at D:\XP.
When the extracting is complete, you will get a window that says "Extraction
Complete."
5 - Integrate Service Pack 3
Run the following commands at a command prompt to integrate Service Pack 3
into the Windows XP directory found at D:\XP.
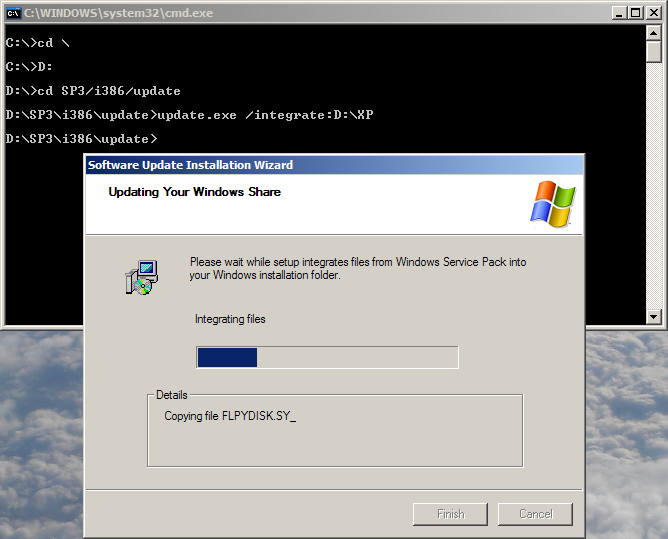 Now, it will integrate the Service Pack 3 files into the Windows XP directory.
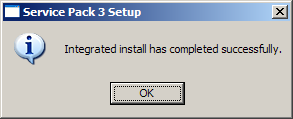 When the integration is complete, you will get a window that says "Integrated
install has completed successfully."
6 - Extract boot image
The boot image from the Windows XP CD can be extracted using IsoBuster. With
the Windows XP CD still in the drive, run IsoBuster and choose "Free func.
only."
When the integration is complete, you will get a window that says "Integrated
install has completed successfully."
6 - Extract boot image
The boot image from the Windows XP CD can be extracted using IsoBuster. With
the Windows XP CD still in the drive, run IsoBuster and choose "Free func.
only."
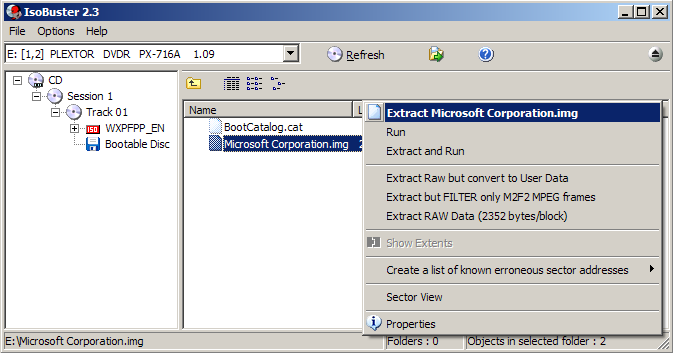 In the left-side tree view, select Bootable Disc. You will now see a file in
the right-side view named Microsoft Corporation.img. Right-click on the file
and select Extract and save it to D:\SP3.
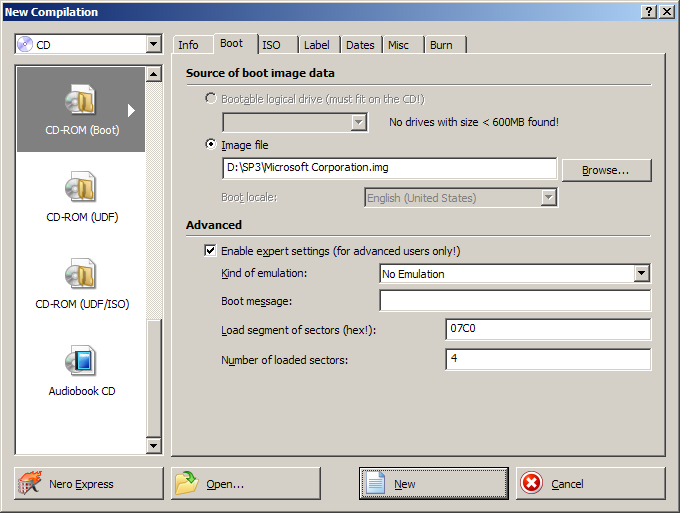
7 - Create bootable CD
Start up Nero Burning ROM. Select CD-ROM (Boot) from the menu. In the source
section, select Image file point to D:\SP3\Microsoft Corporation.img and click
OK. In the Advanced section, select Enable expert settings (for advanced users
only!). Choose No Emulation as Kind of emulation. Clear out the Boot message
field. Make sure that 07C0 is the value under Load segment of sectors (hex!).
Set the Number of loaded sectors to be 4.
In the left-side tree view, select Bootable Disc. You will now see a file in
the right-side view named Microsoft Corporation.img. Right-click on the file
and select Extract and save it to D:\SP3.
7 - Create bootable CD
Start up Nero Burning ROM. Select CD-ROM (Boot) from the menu. In the source
section, select Image file point to D:\SP3\Microsoft Corporation.img and click
OK. In the Advanced section, select Enable expert settings (for advanced users
only!). Choose No Emulation as Kind of emulation. Clear out the Boot message
field. Make sure that 07C0 is the value under Load segment of sectors (hex!).
Set the Number of loaded sectors to be 4.
 Click the New button. Drag all of the directories and files from the D:\XP
directory into the left-side view. Rename the CD compilation to WXPFPP_EN.
Finally, click on burn to create the CD.
Click the New button. Drag all of the directories and files from the D:\XP
directory into the left-side view. Rename the CD compilation to WXPFPP_EN.
Finally, click on burn to create the CD.
|
