Last modified: Sept. 11, 2012
Contents
1 - Summary
2 - Dependencies
3 - Service configuration
4 - Client configuration
1 - Summary
This guide will show you how to enable OpenVPN Remote Access (TLS + User Auth)
in pfSense. OpenVPN is VPN software that connects remote networks utilizing
SSL/TLS. This has been tested in pfSense 2.0.1 i386.
2 - Dependencies
Log into the pfSense website. Navigate to the System menu, then click on
Packages. Click on Available Packages. Find the package named OpenVPN Client
Export Utility and install it by clicking on the plus box on the right of it.
Click OK to install the package.
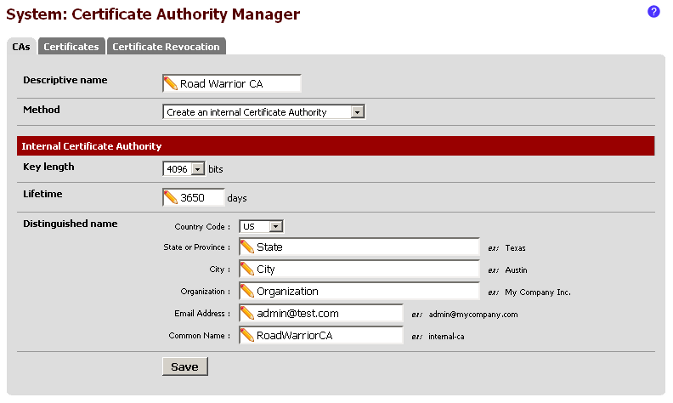
 Navigate to the System menu, then click on Cert Manager. On the CA tab, click
the plus box on the right side to add a new one. Change the Method to Create an
internal Certificate Authority. Enter the details. The Descriptive name and the
Common Name will be needed later. It's important not to have spaces in the
Descriptive name and Common Name. Click on Save.
Navigate to the System menu, then click on Cert Manager. On the CA tab, click
the plus box on the right side to add a new one. Change the Method to Create an
internal Certificate Authority. Enter the details. The Descriptive name and the
Common Name will be needed later. It's important not to have spaces in the
Descriptive name and Common Name. Click on Save.
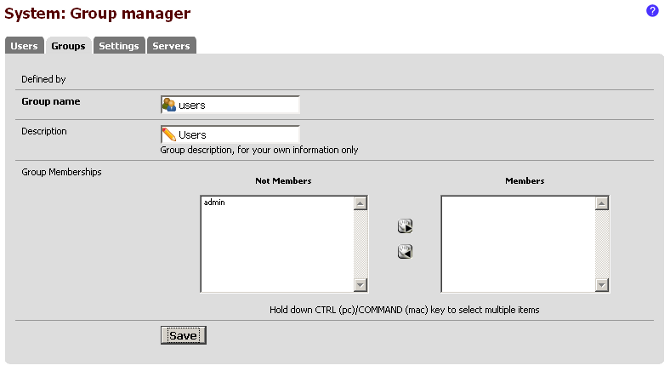
 Navigate to the System menu, then click on User Manager. Click on the Groups
tab. Click on the plus box to add a new group. Click on Save.
Navigate to the System menu, then click on User Manager. Click on the Groups
tab. Click on the plus box to add a new group. Click on Save.
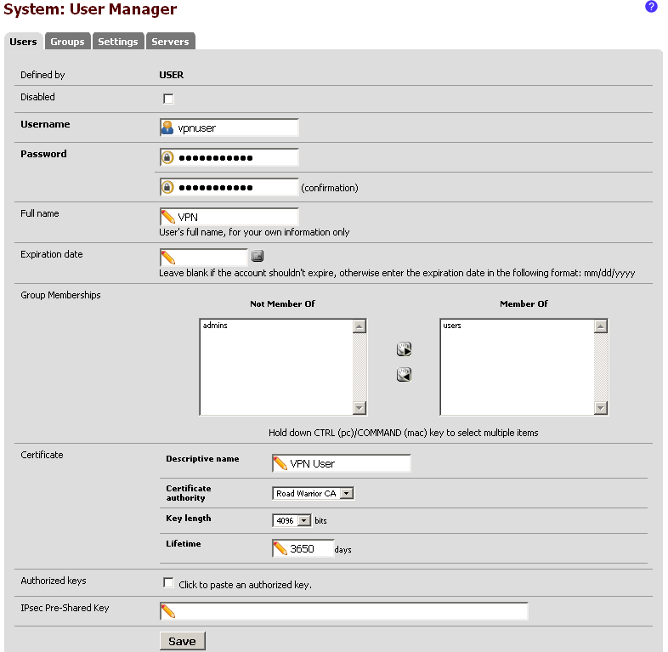
 Click on the Users tab. Click on the plus box to add a new user. Type in the
user information and put the user in the new group named users and also make
sure to check the box next to Click to create a user certificate. Under the
Certificate area, select the Certificate authority named Road_Warrior_CA that
we created earlier. It's important not to have spaces in the Descriptive name.
Click on Save.
Click on the Users tab. Click on the plus box to add a new user. Type in the
user information and put the user in the new group named users and also make
sure to check the box next to Click to create a user certificate. Under the
Certificate area, select the Certificate authority named Road_Warrior_CA that
we created earlier. It's important not to have spaces in the Descriptive name.
Click on Save.
 3 - Service configuration
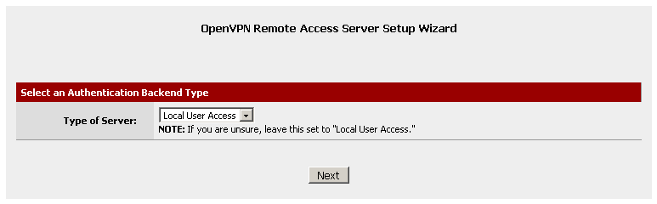
Navigate to the VPN menu, then click on OpenVPN. Click on the Wizards tab.
Select Local User Access for the Type of Servers. Click on Next.
3 - Service configuration
Navigate to the VPN menu, then click on OpenVPN. Click on the Wizards tab.
Select Local User Access for the Type of Servers. Click on Next.
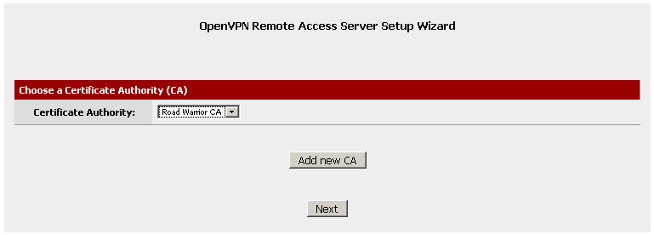
 Select the Certificate Authority named Road_Warrior_CA that we created earlier.
Click on Next.
Select the Certificate Authority named Road_Warrior_CA that we created earlier.
Click on Next.
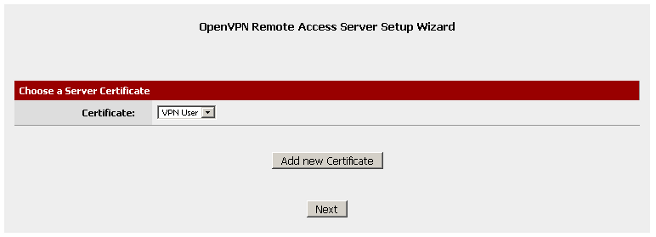
 For Server Certificate, click on Add new Certificate.
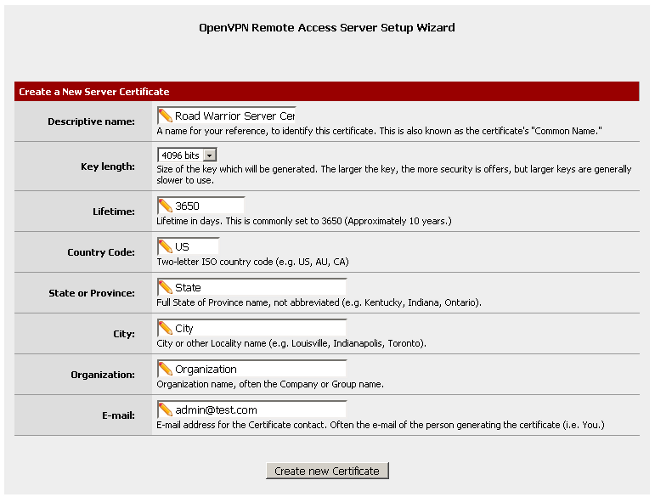
 Type in the information for the new Server Certificate. In this example, the
Descriptive name will be Road_Warrior_Server_Certificate. It's important not to
have spaces in the Descriptive name. Click on Create new Certificate.
Type in the information for the new Server Certificate. In this example, the
Descriptive name will be Road_Warrior_Server_Certificate. It's important not to
have spaces in the Descriptive name. Click on Create new Certificate.
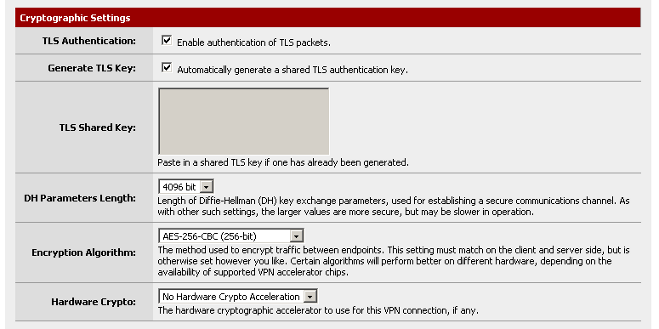
 Set the Cryptographic Settings.
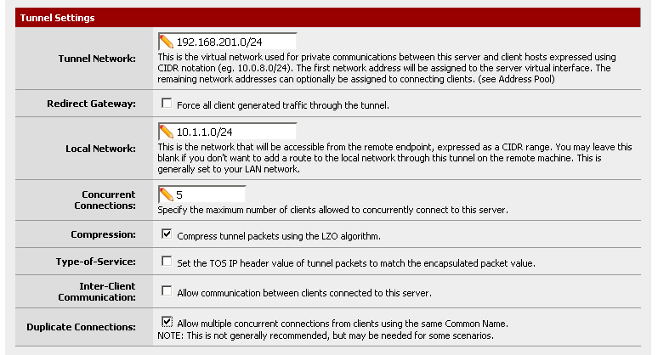
 Set the Tunnel Settings. In this example, the tunnel (VPN) network is set to
use the 192.168.201.0 network, while the local network is set to use 10.1.1.0.
It's set to have five concurrent connections using compression. Also, in this
example the option for duplicate connections has been set.
Set the Tunnel Settings. In this example, the tunnel (VPN) network is set to
use the 192.168.201.0 network, while the local network is set to use 10.1.1.0.
It's set to have five concurrent connections using compression. Also, in this
example the option for duplicate connections has been set.
 Set the Client Settings. For this example, the default settings are fine. Click
on Next at the bottom.
Set the Client Settings. For this example, the default settings are fine. Click
on Next at the bottom.
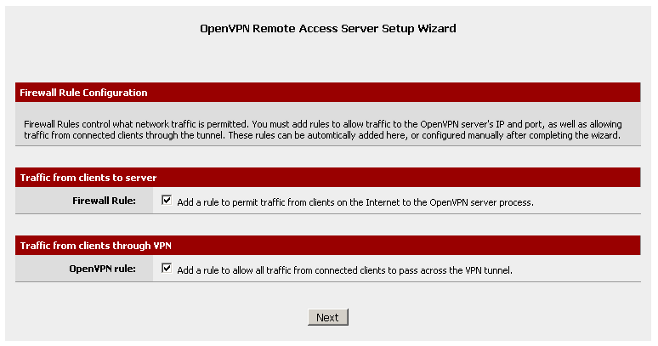
 Check each of the two boxes for the firewall rules. Click on Next.
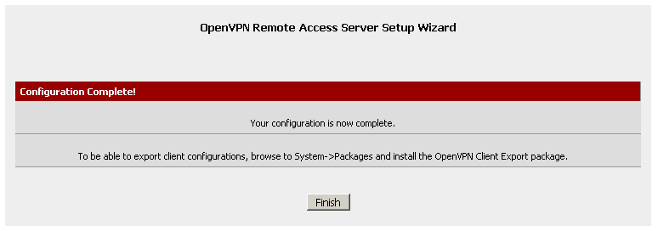
 The Wizard has completed. Click on Finish.
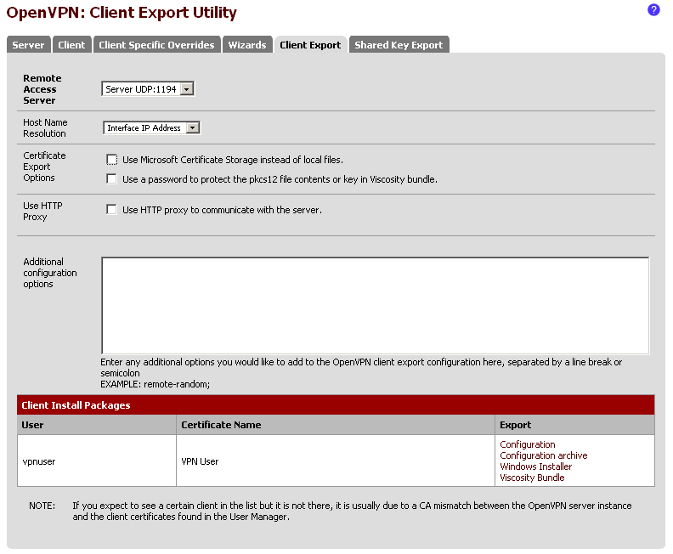
 Click on the Client Export tab. Click on Configuration archive on the right
hand side of the area for the user name vpnuser.
Click on the Client Export tab. Click on Configuration archive on the right
hand side of the area for the user name vpnuser.
 4 - Client configuration
Download and install the OpenVPN software available at http://www.openvpn.net/
on the client machine. Copy the configuration archive that was generated to the
client machine and extract the files to the config sub-directory under the
main OpenVPN directory. When trying to connect to the OpenVPN server, you will
be asked for the username and password. That's it, now you OpenVPN Remote
Access (TLS + User Auth) configured in pfSense.
4 - Client configuration
Download and install the OpenVPN software available at http://www.openvpn.net/
on the client machine. Copy the configuration archive that was generated to the
client machine and extract the files to the config sub-directory under the
main OpenVPN directory. When trying to connect to the OpenVPN server, you will
be asked for the username and password. That's it, now you OpenVPN Remote
Access (TLS + User Auth) configured in pfSense.
|
